- Shopping, made easy.
- /
- Get the app!
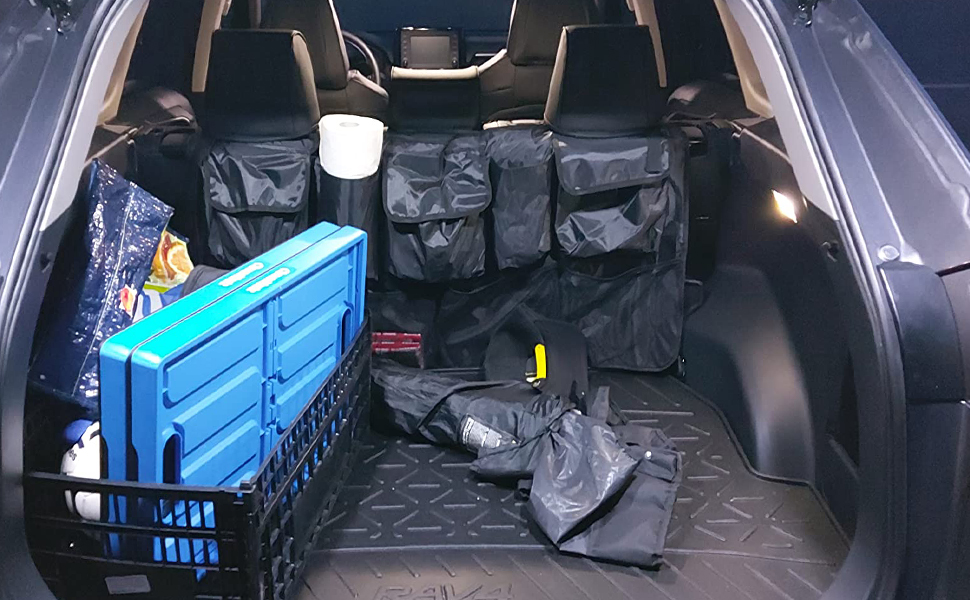
Trunk Ceiling Lighting for Toyota RAV4 2013-2018
1. Remove some of the door gasket at the top of the hatch door frame to get access to the headliner. 2. Gently pull the headliner down slightly. Route the end of the power wire with the two connectors under the headliner, toward the right side of the car, down, and then behind the trim panels to the existing light. 3. Back where you started take the other end of that cable and route it through the LEFT rubber tube running between the door frame and the hatch (the right one supplies water for the rear windshield washer – Leave It Alone). 4. After (NOT Before) that is done insert the two wires into the provided plastic connector making sure that the red and white wires will match up to the red and white wires on the connector that it goes into. Replace the gasket.
No cutting is necessary for the installation, the lights replace two access panel covers on the inside of the rear hatch. All parts necessary for the installation are included. If you need installation video, kindly contact seller for help. Thank you.
Bright enough and have enough coverage to fully illuminate the cargo area. The lights turn on automatically when the hatch is raised and turned off when it is closed. They can also be turned off manually with a switch on the face of the lights.


 HIGH FLYING for Toyota 4Runner 2020-2024 Car Accessories Front Center Grille Raptor LED Lights ABS Amber Lense (NOT Fit TRD Pro)
KWD 9.500
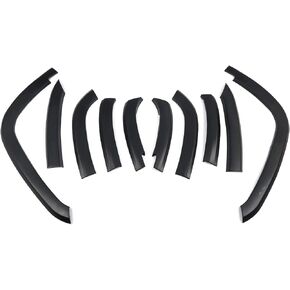
 HIGH FLYING 2011-2016 for Jeep Compass Front&rear Wheels Fender Flares Protector Molding Trim 10pcs
KWD 51.500
 HIGH FLYING for Mitsubishi Outlander 2022 2023 2024 Car Exterior Accessories Side Door Handles Bowl Cup Cover Trim ABS Chrome 4pcs
KWD 9.500
 MOOG 81681 Coil Spring Set for Honda Civic
KWD 24