- Shopping, made easy.
- /
- Get the app!
The 3/4'' Tubing x 3/4'' Tubing x 3/4'' Tubing Tee air piping fittings(3/4'' air line fittings) feature a compression fitting style to make fast and easy connections.
The Tee air line fittings(3/4'' air line fittings) are made of nickel-plated brass for durability and corrosion resistance.
Double O-ring compression style fitting, no glue, soldering or crimping needed, tubing can be removed from fitting if needed.
3/4 Inch air piping size x 3/4 inch air piping size x 3/4 inch air piping size, Tee air line fittings type, 200PSI Working Pressure.
Bevel the inside of the tubing by inserting the reaming tool and rotating it. Remove nuts and split ring from fittings and place on tubing; Push the fitting onto the tubing and fully against the shoulder of the fitting; Turn the nut finger tight. Put a reference mark on the nut and fitting body; Tighten nut with wrench a minimum of 3/4 of a turn or until tight.
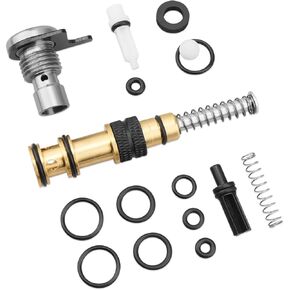
 877-337 875-638 Plunger Valve and Trigger Valve Assembly Replacement for Hitachi NR83A NR83A2 NR83A2(S) NR83A3 Frame Nailer Parts, SP-P1 SP-P2
KWD 7.500
 IEQFUE 884-064 Adjuster Nut Kit Compatible with Hitachi NR83A2(S) NR83A3(S) NR83A3 NV83A3 NR83A2 Framing Nailer Parts
KWD 5
 137-0001 Manifold Plastic Air Compressor Regulator Valve Knob Replacement for Sanborn
KWD 8
 Campbell Hausfeld Universal Swivel Coupler (DA404100)
KWD 4.500