- Shopping, made easy.
- /
- Get the app!
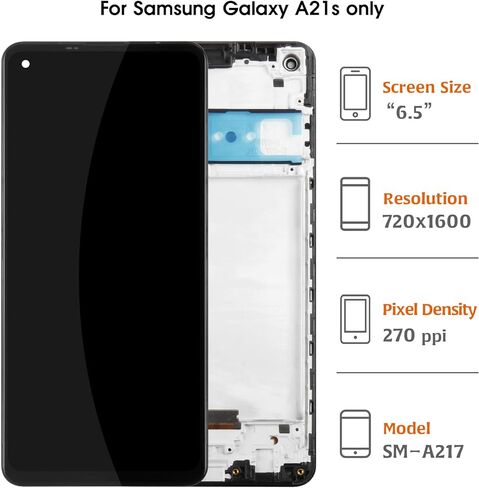
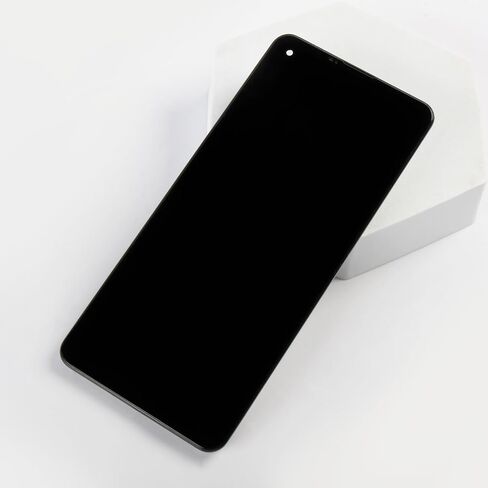
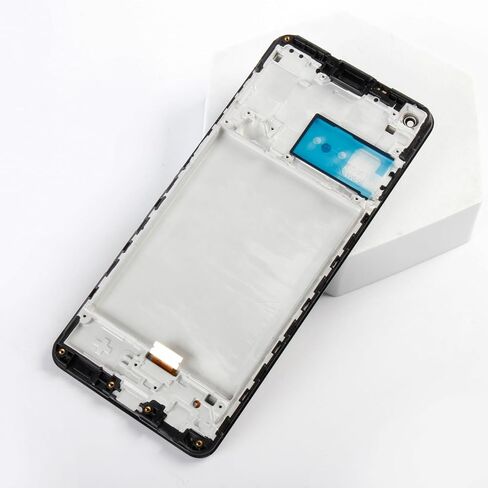
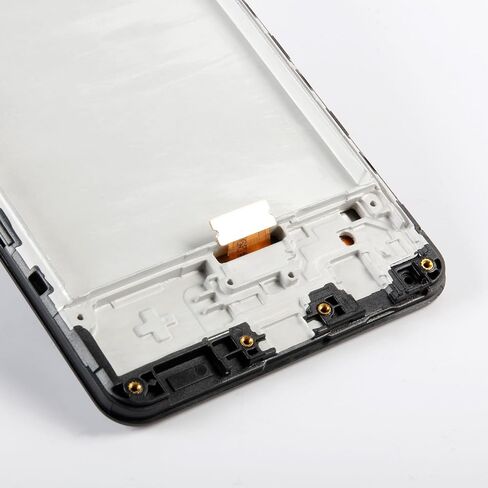
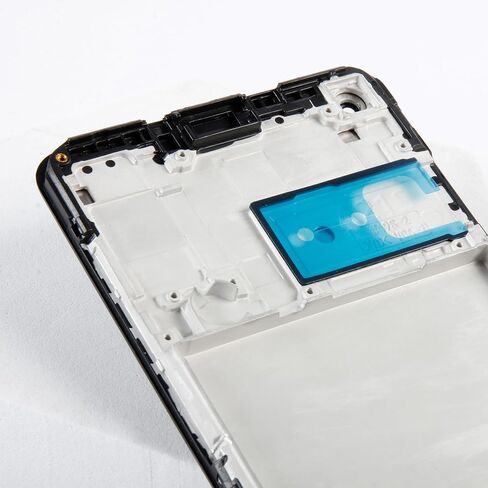
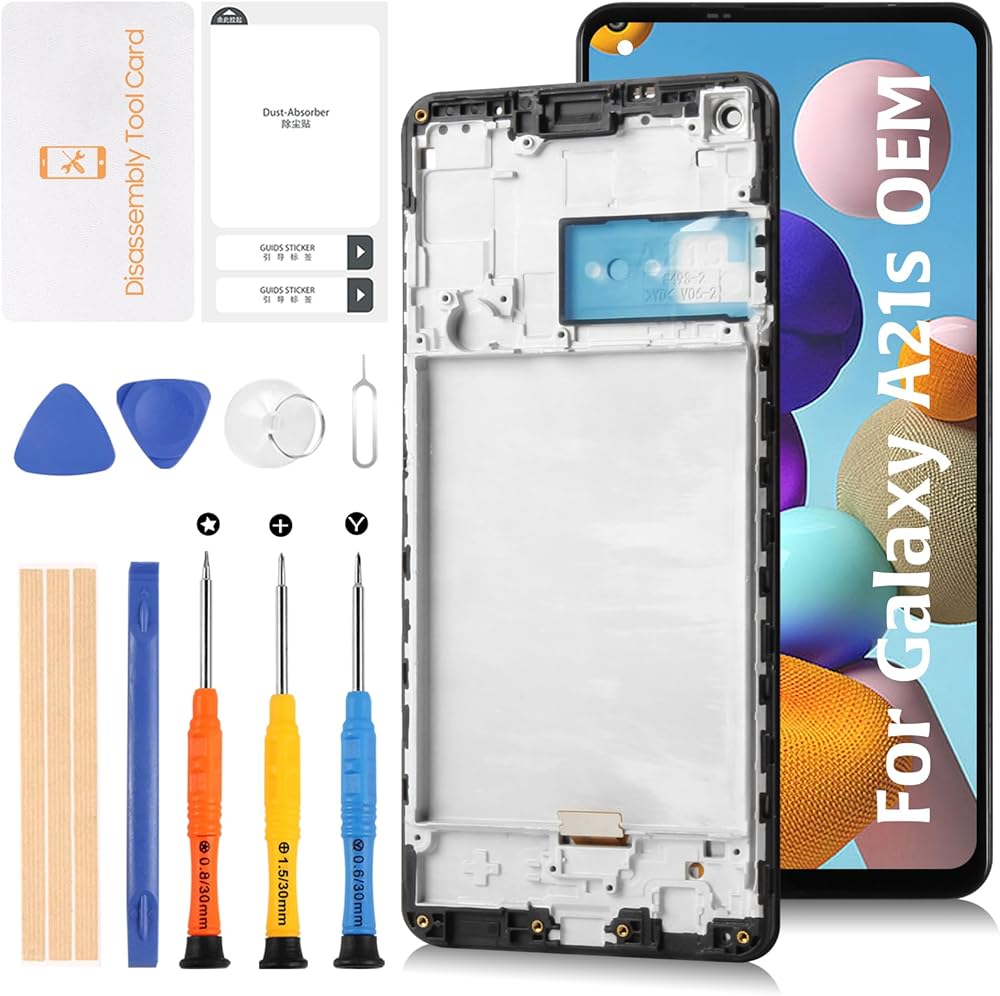
For Samsung Galaxy A03 Core With Frame Original Lcd Display Screen Replacement.Model:SM-A217F, SM-A217F/DS, SM-A217F/DSN, SM-A217M, SM-A217M/DS, SM-A217N
Samsung Galaxy A21S lcd,Samsung Galaxy A21S screen replacement,pantalla para Samsung Galaxy A21S,Samsung Galaxy A21S lcd screen replacement,Samsung Galaxy A21S display,Samsung Galaxy A21S replacement screen,lcd screen Samsung Galaxy A21S,Samsung Galaxy A21S assembly,screen replacement Samsung Galaxy A21S,Samsung Galaxy A21S screen digitizer,display Samsung Galaxy A21S,lcd Samsung Galaxy A21S,screen assembly Samsung Galaxy A21S,Samsung Galaxy A21S lcd display,replacement screen for Samsung Galaxy A21S,lcd display Samsung Galaxy A21S,Samsung Galaxy A21S lcd replacement .
✅🔝Friendly Reminder:
🔹Product does not include a manual. Kindly refer to installation tutorials on YouTube.
🔸Ensure to diagnose whether your phone's malfunction is due to the LCD or touch panel before making a purchase.
🔹Installation requires specific skills and tools.
For personal use or non-professionals, please proceed with caution. It is advisable to seek professional service.
We do not assume responsibility for any damage resulting from the installation.
🔸While our provided tools are versatile and compatible with most phones, we cannot guarantee compatibility with all models.
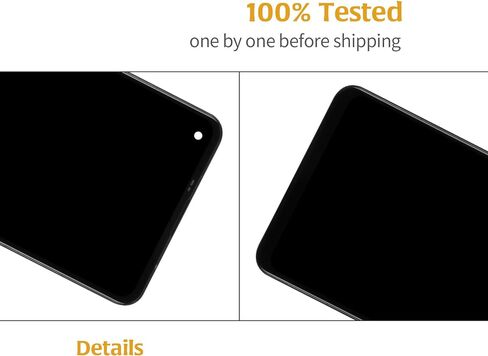
🔹Dealing with issues post-installation can be challenging; hence, please test the product upon receipt.
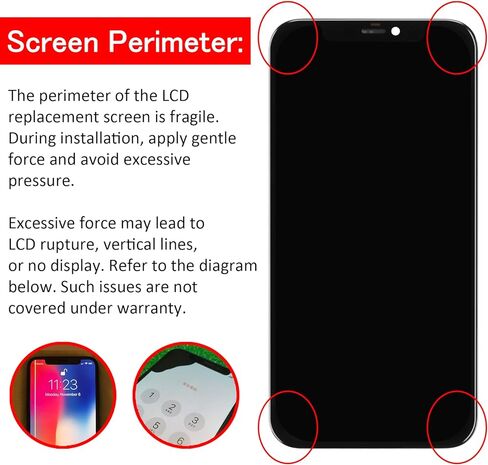
🔸Handle the LCD with care, as it is fragile. Inadvertent breakage may result in glass fragments that could cause injury. Take appropriate safety measures.
🛠🛠Simulation Test:
1️⃣During testing, do not remove any protective films or labels.
2️⃣Pay attention to static electricity issues. Ground yourself using an ESD (Electrostatic Discharge) wrist strap to prevent damage from static electricity.
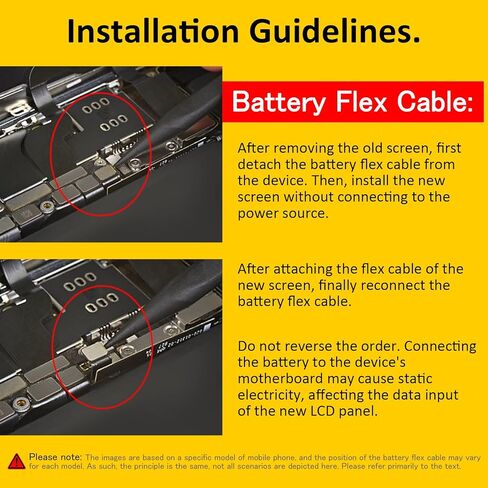
⚠3️⃣After removing the old screen, the first step is to remove the flexible cable clamp between the battery and the device motherboard.
Disconnect the power supply connecting the screen flex cable.
After connecting the flex cable of the new screen, the final step is to install the flexible cable clamp of the battery.
It is important not to reverse this sequence.
4️⃣Then, connect the charging cable, turn on the phone power, and check if the screen is working properly.
5️⃣If abnormalities are observed, please contact us promptly with attached video or photos. Do not force installation.
📞📞After-sales Support
We offer a replacement policy for product damage not caused by user error.
We do not accept responsibility for any damages or malfunctions resulting from incorrect installation work. Kindly use the product at your own discretion.
For broken, damaged, or missing items upon receipt, please capture photos and reach out to us.
If you require further assistance, please email our service team.
 Note 10 Plus 5G OLED LCD Display +Aura White Frame for Samsung Galaxy Note10+/5G SM-N975U N975W N976U 6.8" LCD Screen Display Replacement Touch Digitizer Assembly Kit
KWD 49.500
Note 10 Plus 5G OLED LCD Display +Aura White Frame for Samsung Galaxy Note10+/5G SM-N975U N975W N976U 6.8" LCD Screen Display Replacement Touch Digitizer Assembly Kit
KWD 49.500
 S21 FE 5G G990 OEM Original LCD Display +Graphite Frame for Samsung Galaxy S21 FE SM-G990u/u1/w/b/e 6.4" LCD Screen Display Replacement Touch Digitizer Assembly Kit
KWD 62
S21 FE 5G G990 OEM Original LCD Display +Graphite Frame for Samsung Galaxy S21 FE SM-G990u/u1/w/b/e 6.4" LCD Screen Display Replacement Touch Digitizer Assembly Kit
KWD 62
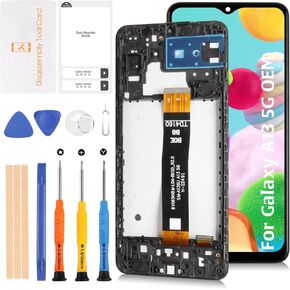 Original A13 5G OEM Screen LCD Display +Frame for Samsung Galaxy A13 5G SM-A136U A136W A136B 6.5" LCD Screen Display Replacement Touch Digitizer Assembly Kit
KWD 8.500
Original A13 5G OEM Screen LCD Display +Frame for Samsung Galaxy A13 5G SM-A136U A136W A136B 6.5" LCD Screen Display Replacement Touch Digitizer Assembly Kit
KWD 8.500
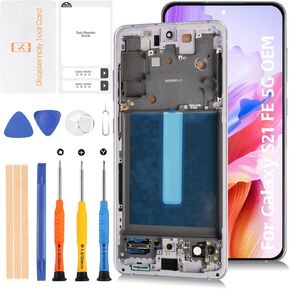 S21 FE 5G G990 OEM AMOLED Original LCD Display +White Frame for Samsung Galaxy S21 FE SM-G990u/u1/w/b/e 6.4" LCD Screen Display Replacement Touch Digitizer Assembly Kit
KWD 61.500
S21 FE 5G G990 OEM AMOLED Original LCD Display +White Frame for Samsung Galaxy S21 FE SM-G990u/u1/w/b/e 6.4" LCD Screen Display Replacement Touch Digitizer Assembly Kit
KWD 61.500