- Shopping, made easy.
- /
- Get the app!

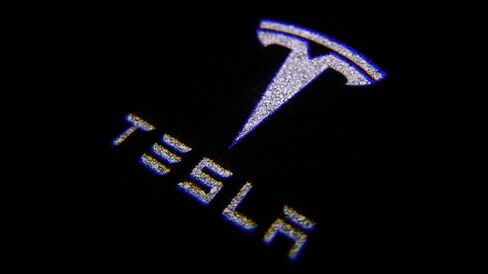
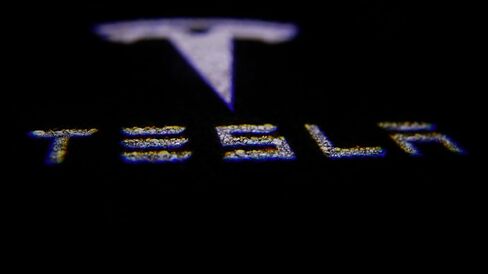
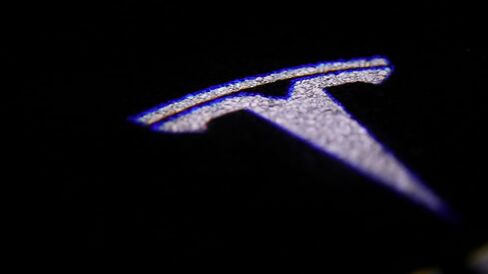
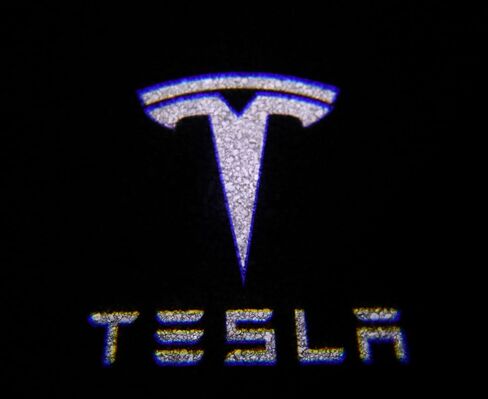
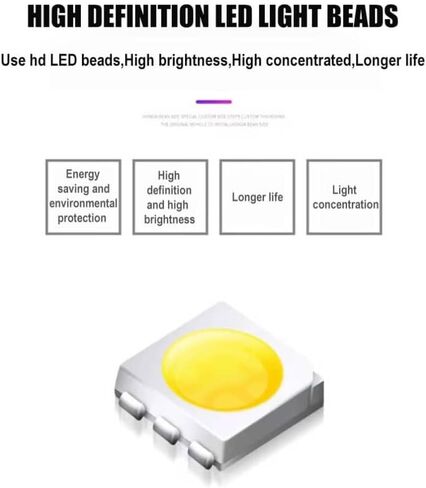
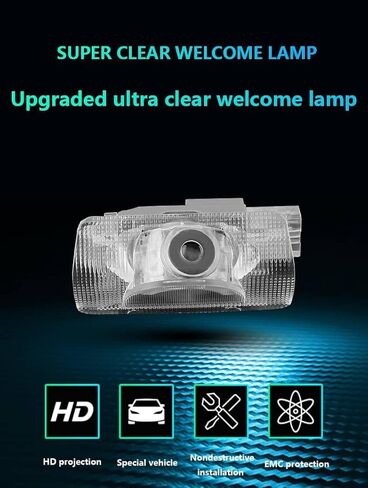
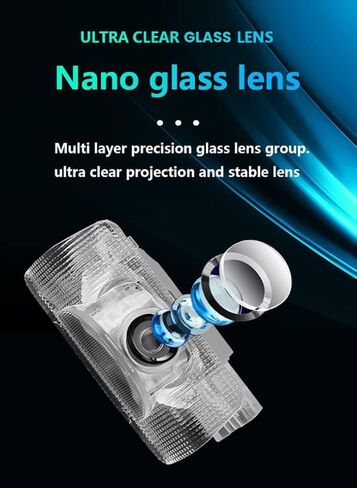
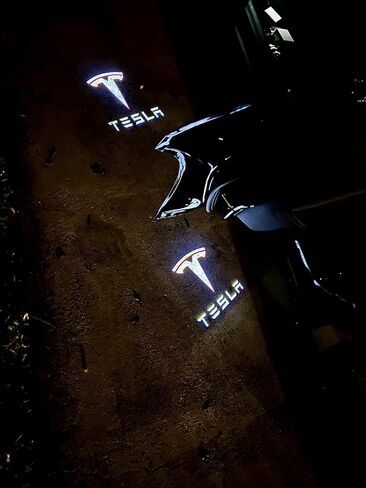
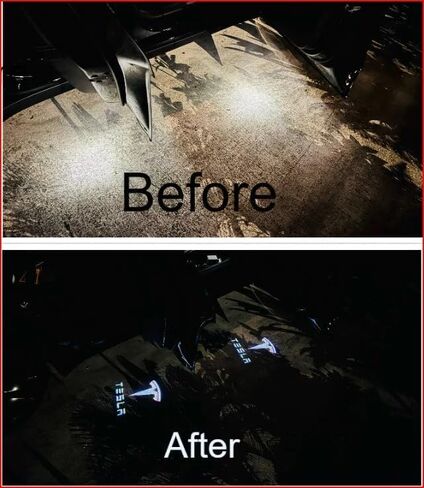
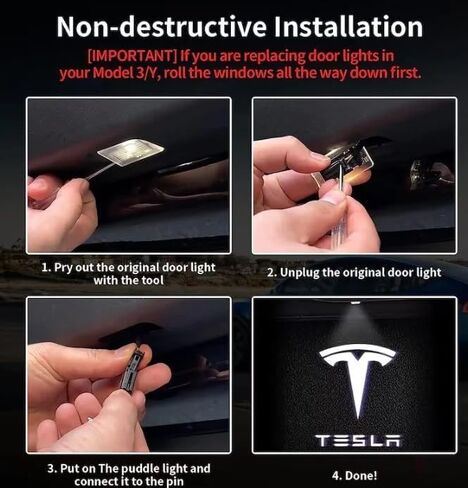
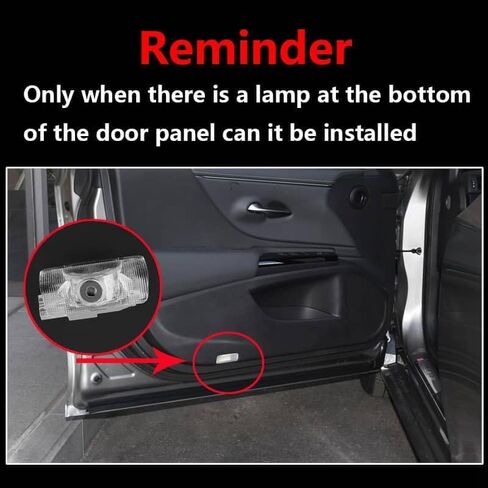
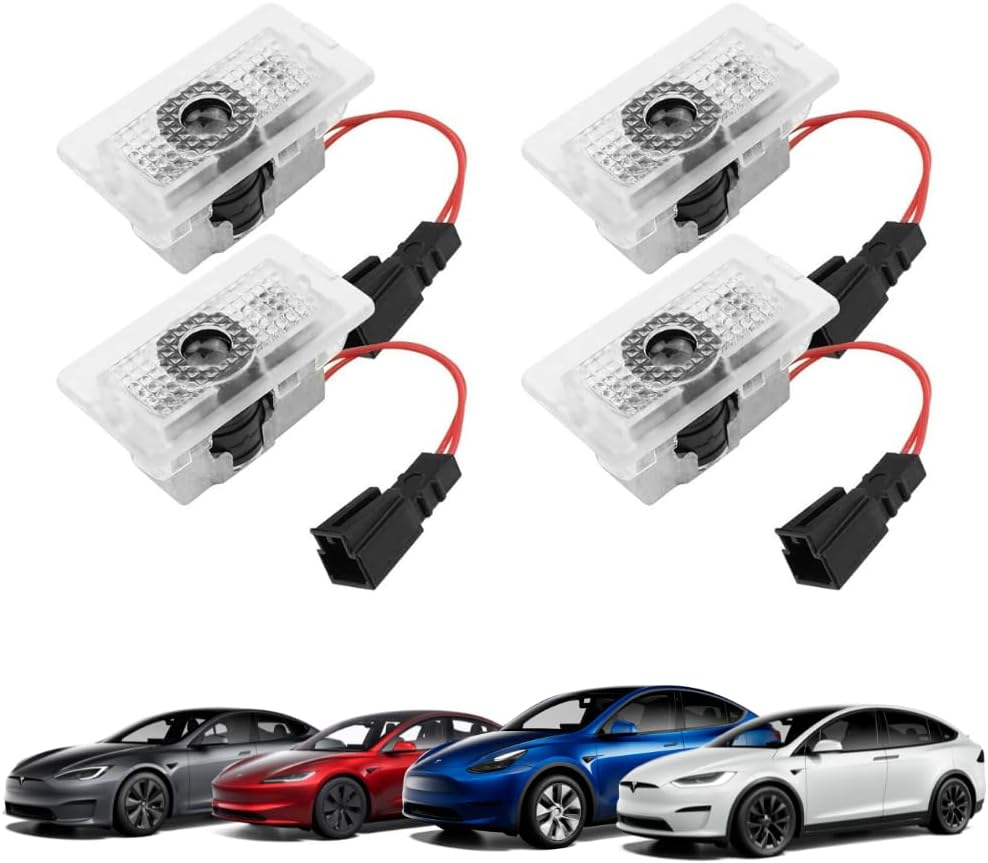
Introducing the Tesla Car Door Light, the perfect accessory to enhance your car's style and make a lasting impression. With logo lights for doors, you can transform the look of your vehicle and add a touch of luxury to every entrance. Upgrade your car's aesthetics with these car door lights that showcase a stunning car logo. When the doors are opened, the logo lights up, catching everyone's attention and setting your car apart from the rest. It's a small detail that can make a big impact on the overall appearance of your car. Installation is a breeze with these door welcome logo lights. Designed to be user-friendly, you can easily mount them on your car doors without any complex procedures. Simply follow the included instructions, and within minutes, your car will be customized with these eye-catching logo lights. When it comes to quality, these car welcome door lights are crafted with premium materials to ensure durability and longevity. By investing in these logo lights, you can be confident that they will withstand the test of time and continue to illuminate your car's entrance for years to come. These logo lights for car doors are designed with wide compatibility in mind. They are suitable for use with most car models, making them a versatile choice for car enthusiasts. No matter what car you have, you can enjoy the seamless fit and stylish look that these logo lights provide. So why wait? Give your car a makeover with these Tesla Car Door Lights. With their attractive design, easy installation process, premium quality, and wide compatibility, they are the perfect choice for any car enthusiast looking to elevate their ride's style. Welcome your guests in style and make a statement every time you open your car doors. Upgrade now and experience the difference that logo lights can make to your car's appearance. Installation Steps: Step 1: Use A Flathead Screwdriver to Remove and Disconnect Original Lights. Step 2: Plug in MVP Auto Supplies Lights with Correspondent Connector. Step 3: Snap MVP Auto Supplies lights back into place. Step 4: Done! Logo Should Be Projected on The Ground.
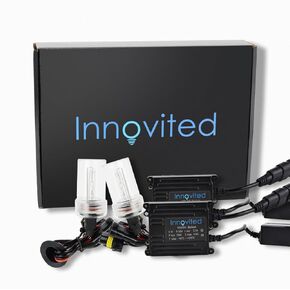 Innovited 9006 6000K HID Xenon Bulbs Bundle with 35W AC Slim Digital Ballast (Cool White)
KWD 16.500
Innovited 9006 6000K HID Xenon Bulbs Bundle with 35W AC Slim Digital Ballast (Cool White)
KWD 16.500
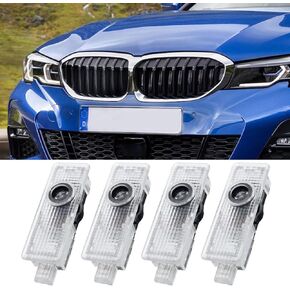 4 Pack Car Door Lights Logo Projector, Upgrade HD Welcome Light Puddle Lights Compatible for BMW Accessories 3 4 5 6 7 Series M3 M5 X1 X3 X4 X5 X6 Series(4 Pack)
KWD 7.500
4 Pack Car Door Lights Logo Projector, Upgrade HD Welcome Light Puddle Lights Compatible for BMW Accessories 3 4 5 6 7 Series M3 M5 X1 X3 X4 X5 X6 Series(4 Pack)
KWD 7.500
 PHINLION 2600 Lumens 912 921 LED Reverse Light Bulbs Canbus High Power Non-Polarity T15 922 W16W Backup Replacement Bulb with Projector, 6000K Xenon White
KWD 6
PHINLION 2600 Lumens 912 921 LED Reverse Light Bulbs Canbus High Power Non-Polarity T15 922 W16W Backup Replacement Bulb with Projector, 6000K Xenon White
KWD 6
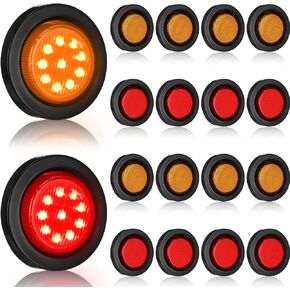 Treela 16 Pcs 2 Inch LED Marker Lights Waterproof Sealed 10 LEDs Round Trailer Light with Rubber Flush Mount Grommet 2 Prong Wire Pigtails for RV Truck Semi Trailer Side Tail Lights, Red and Amber
KWD 16.500
Treela 16 Pcs 2 Inch LED Marker Lights Waterproof Sealed 10 LEDs Round Trailer Light with Rubber Flush Mount Grommet 2 Prong Wire Pigtails for RV Truck Semi Trailer Side Tail Lights, Red and Amber
KWD 16.500