- Shopping, made easy.
- /
- Get the app!
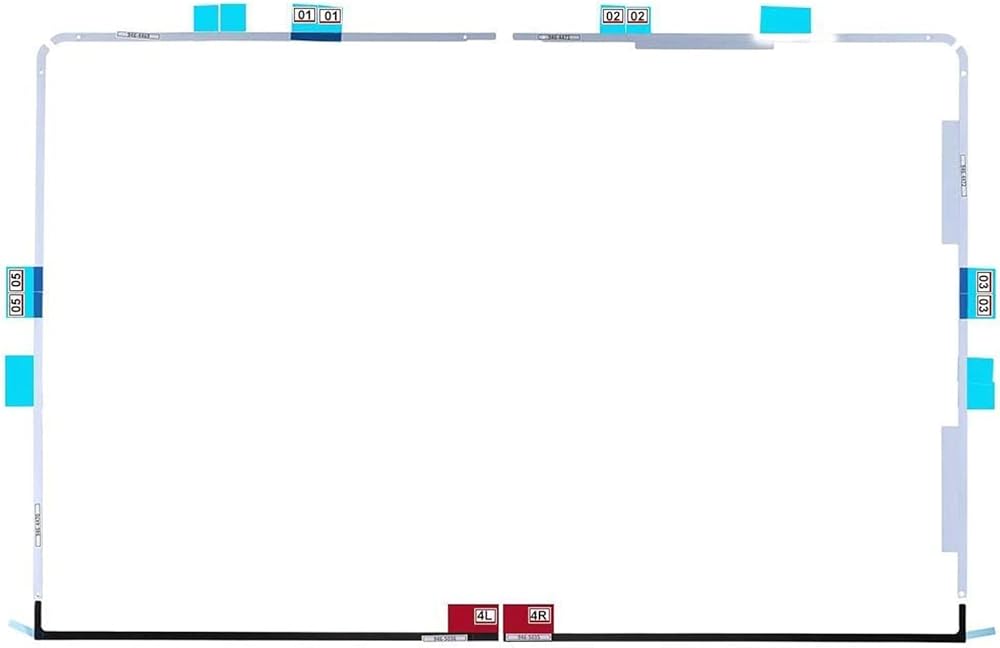
Package:
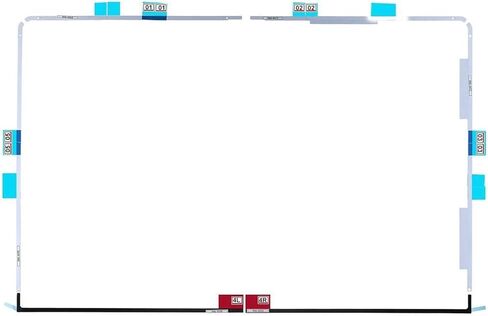
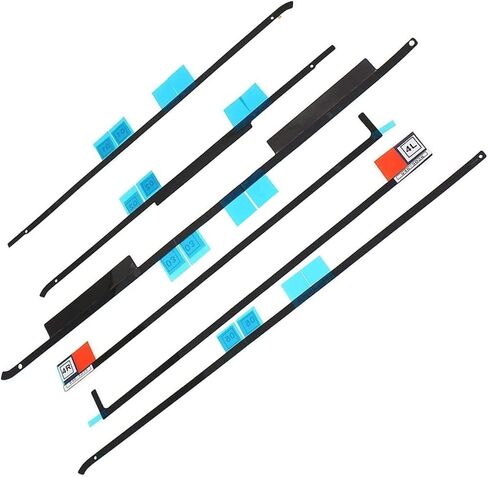
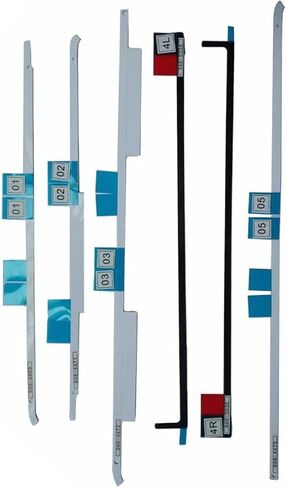
1x A1418 LCD Adhesive Strips Tape
Compatible with:
iMac 21.5” A1418
-For iMac13,1 Late 2012: MD093LL/A (2.7 GHz Core i5)
-For iMac13,1 Late 2012: MD094LL/A (2.9 GHz Core i5)
-For iMac13,1 Late 2012: MD094LL/A (3.1 GHz Core i7)
-For iMac13,1 Early 2013: ME699LL/A (3.3 GHz Core i3)
-For iMac14,3 Late 2013: ME086LL/A (2.7 GHz Core i5)
-For iMac14,3 Late 2013: ME087LL/A (2.9 GHz Core i5)
-For iMac14,3 Late 2013: ME087LL/A (3.1 GHz Core i7)
-For iMac14,4 Mid 2014: MF883LL/A (1.4 GHz Core i5)
-For iMac16,1 Late 2015: MK142LL/A (1.6 GHz Core i5)
-For iMac16,2 Late 2015: MK442LL/A (2.8 GHz Core i5)
-For iMac16,2 Retina 4K Late 2015: MK542LL/A (3.1 GHz Core i5)
-For iMac16,2 Retina 4K Late 2015: MK542LL/A (3.3 GHz Core i7)
Identifying Numbers:
- APN :076-1416, 076-1422, 076-1437
- Printed Part #: 946-4468, 946-4470, 946-4472, 946-5035
Note:
1、Please double check your replacement for MacBook's model number "A1418" on the bottom of the laptop to determine the compatibility.
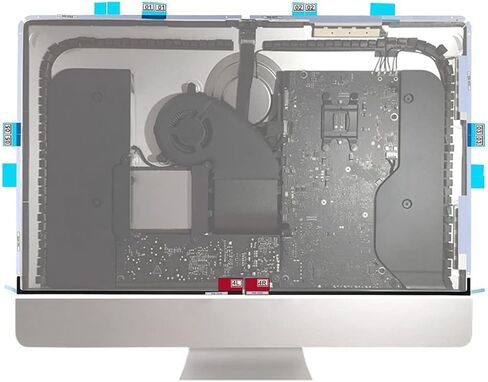
2、Remove any old adhesive before you start placing the adhesive strips. Then heat the tape to ensure that the tape is tightly attached to the liquid crystal. Press the edges of the panel and let the panel sit for a few minutes.
3、This requires professional installation, if you are not a professional, please do not try it lightly.We are not responsible for any damage during teardown.
 Replacement Full Keyboard Hinge Keycap Scissor Clips Hinge Set Compatible with Macbook Pro Retina 13" 16" Model A2141 A2289 A2251 2019 EMC 3348 EMC 3349 3456 Mode A2338 MYDA2LL/A M1 EMC 3578 2020 Year
KWD 8.500
Replacement Full Keyboard Hinge Keycap Scissor Clips Hinge Set Compatible with Macbook Pro Retina 13" 16" Model A2141 A2289 A2251 2019 EMC 3348 EMC 3349 3456 Mode A2338 MYDA2LL/A M1 EMC 3578 2020 Year
KWD 8.500
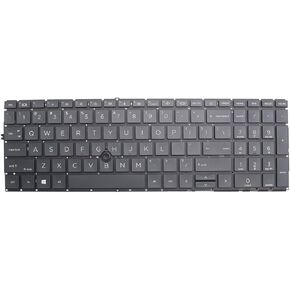 New Replacement Keyboard Compatible with HP Elitebook 755 G7 850 G7 G8 855 G7 G8 ZBook Firefly 15 G7 15 G8 Laptop Backlit Keyboard
KWD 19
New Replacement Keyboard Compatible with HP Elitebook 755 G7 850 G7 G8 855 G7 G8 ZBook Firefly 15 G7 15 G8 Laptop Backlit Keyboard
KWD 19
 Deal4GO ADM70 Battery Connector Cable C17R8 0C17R8 DC020027E00 DC020027G00 Replacement for Dell Latitude E5470 5470
KWD 3
Deal4GO ADM70 Battery Connector Cable C17R8 0C17R8 DC020027E00 DC020027G00 Replacement for Dell Latitude E5470 5470
KWD 3
 Deal4GO 2-Pack 15" Laptop Bottom Rubber Feet Strip Replacement for Dell Inspiron 15MF 7000 7569 7579 7568 7560 7572 P58F (Grey)
KWD 5
Deal4GO 2-Pack 15" Laptop Bottom Rubber Feet Strip Replacement for Dell Inspiron 15MF 7000 7569 7579 7568 7560 7572 P58F (Grey)
KWD 5