- Shopping, made easy.
- /
- Get the app!
he gasket kit is used to replace leaking seals or seals damaged during servicing. The gasket kit contains the following items: Gasket for installation between motor mounting supportand inducer blower housingGasket for installation between inducer blower、 housing and collector boxGasket for installation between l l-circuit connector andblower decKInstallation Instructions GASKET INSTALLATION 1. Turn off gas and electrical supplies to furnace. 2. Remove blower and control access doors. 3.Disassemble furnace components necessary to expose gaske being replaced. NOTE: Motor shaft seal and rectangular gasket are not used onall models. Discard unneeded gaskets. 4. Remove old gasket. Ensure old gasket is removed completely and surfaces are clean.5. Position new gasket in place.(A small amount of white gluesuch as Elmer's, may be needed to hold gasket in place unles gasket has preapplied adhesive.) 6. Smooth out all air bubbles and wrinkles so gasket is flat for good seal. 7. Reassemble furnace components. 8. Reinstall blower access door. 9. Tumn on gas and electrical supplies to fumace 10. Start furnace and check for leakage around new gaskets. 1 1. Operate furnace through l complete heating cycle and checkfor proper operation. 12. Reinstall control access door. 13. Set room thermostat to desired temperature
 Monroe Shocks & Struts 58594 Shock Absorber and Coil Spring Assembly, Pack of 2
KWD 43
 -24%
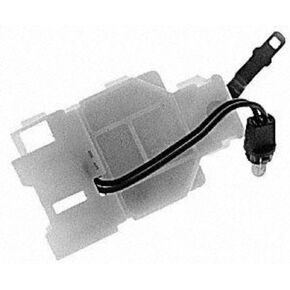
Standard Motor Products HS-234 Blower Switch Assorted, One Size
KWD 14.500
 -19%
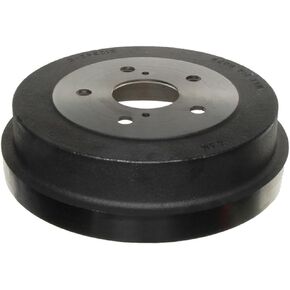
Raybestos 9728R Professional Grade Brake Drum
KWD 12.500
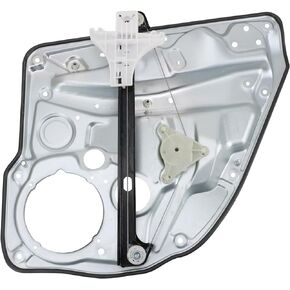
 TRQ Power Window Regulator Driver Side Rear Left LR for VW Golf Jetta 4 Door
KWD 27