- Shopping, made easy.
- /
- Get the app!
These LED lights will not only allow you to see very clearly at night but they will make your Prebug Zuma look sharp. Designed and tested in house, these lights are the perfect replacement for your old halogen lights that are harder and more expensive to find. We offer different colored halos to match your ride.
When you purchase this product, you will receive a set of two lights, housings, and instructions on how to wire them up. The install is very easy to do and can be done in under 20 minutes without having to cut or splice any of the stock wiring. Plug and play!
✔️ Installation Steps:
Remove the three phillips screws from the front fairing. There is one at the top in the center and the other two are located on each side toward the bottom. Now remove the two top screws from the knee cover plastics. Your front fairing should now be free to remove.
Disconnect the headlight harness plug from each headlight.
Remove the three screws on the underside of the front fairing that hold the headlight shroud to the fairing.
Remove the top screw from each headlight.
From the front of the headlight shroud, unscrew the two screws that are holding the headlight and note the orientation of the white square nut for reinstallation later.
Take the new LED headlight and insert the long screws with the springs on the bottom. Once lined up you will want to compress the springs so that you can reinstall the white square nut by hand, being careful not to cross thread them. Once they are both installed and retained in the tab of the headlight, you can tighten them down about a quarter of the way to tension the springs.
Install the top bolt into the adapter. 📝 Note: When tightening the top bolt into the adapter, only tighten it until it is snug. The bolt is threaded into plastic and doesn't need to be tightened very hard since it has rubber bushings.
Finish installing the second headlight and then reverse the procedures until you have everything back together. You will use the two screws at the front of the headlights to either tighten or loosen to adjust where the light is pointing.
🛵 This product will ONLY fit the Yamaha Zuma PREBUG ('89-'01)
📝 Please note that the LED lights will flicker when scooter is at idle. They will not flicker when the scooter is being ridden.
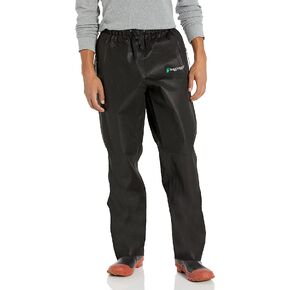 FROGG TOGGS Men's Signature Bull Frogg Waterproof Breathable Rain Pant
KWD 7.500
FROGG TOGGS Men's Signature Bull Frogg Waterproof Breathable Rain Pant
KWD 7.500
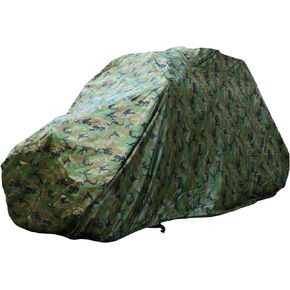 X AUTOHAUX UTV Covers Side by Side Rain Cover Waterproof 210D Oxford Cloth for Polaris for Ranger Crew 570-4 570-6 1000 XP 900 XP1000 4-6 Seats 157.48"x64.96"x76.77" (400 165 195 cm)
KWD 23
X AUTOHAUX UTV Covers Side by Side Rain Cover Waterproof 210D Oxford Cloth for Polaris for Ranger Crew 570-4 570-6 1000 XP 900 XP1000 4-6 Seats 157.48"x64.96"x76.77" (400 165 195 cm)
KWD 23
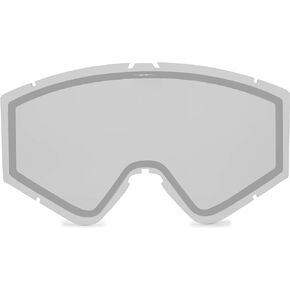 Electric Kleveland Small Snow Goggle Replacement Lens
KWD 11.500
Electric Kleveland Small Snow Goggle Replacement Lens
KWD 11.500
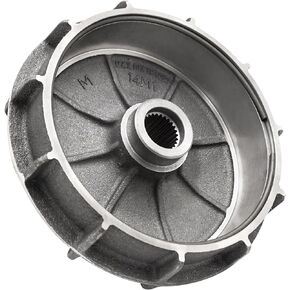 Rear Brake Drum Hub for Honda Rancher 420 Foreman 500 520 2014-Up OEM# 43620-HR3-A20
KWD 25
Rear Brake Drum Hub for Honda Rancher 420 Foreman 500 520 2014-Up OEM# 43620-HR3-A20
KWD 25


