- Shopping, made easy.
- /
- Get the app!
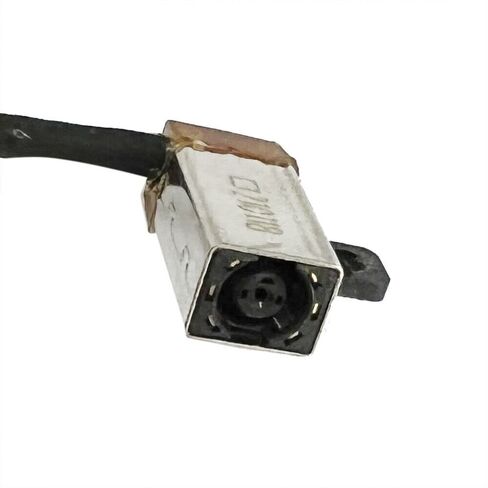
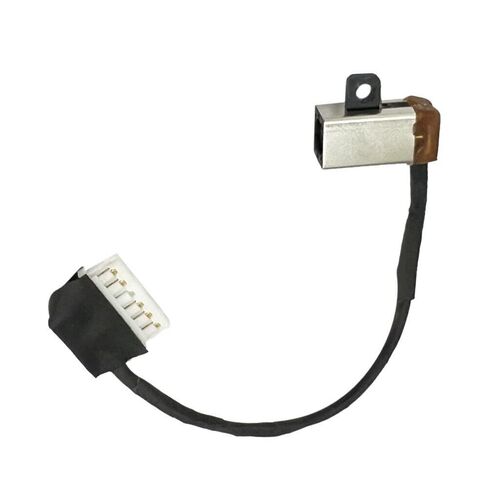
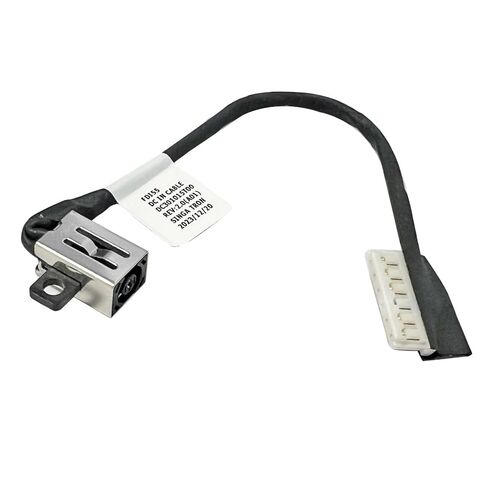
Product length:9.9CM
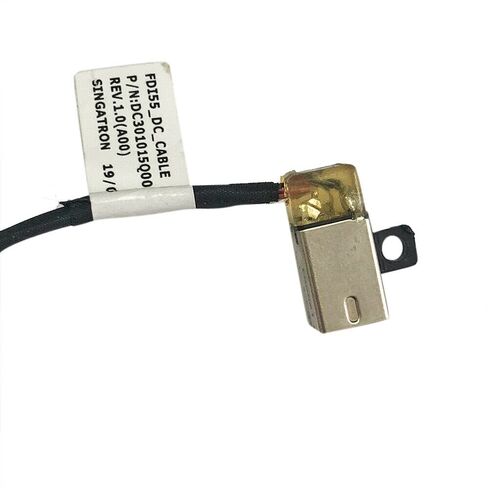
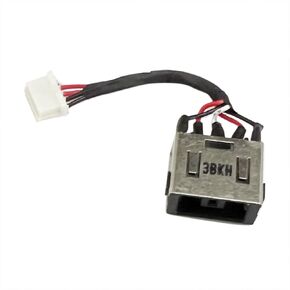
Replacement for Dell Latitude 3x90 5x90 7x90 5593 5594 / Vostro 3501 3500 3502 CN-04VP7C 4VP7C DC301015Q00 DC3010515Q00 DC301015T00
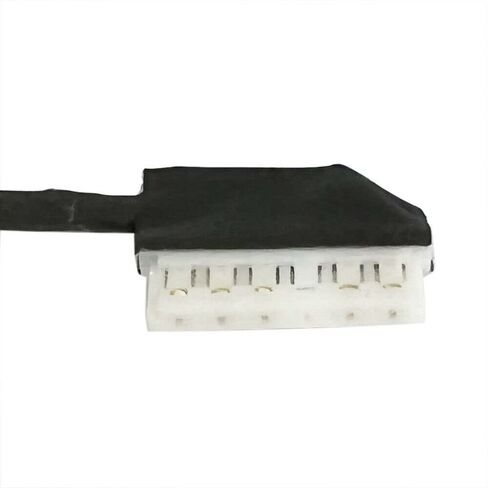
Package includes:1 X DC Power Jack Charging Port Cable
Tutorial for Replacing Your DC In Power Jack Charging Cable
Firstly, before replacing, please ensure that you have backed up all important files and data, shut down the computer, and unplug the power cord and all peripherals.
1. Prepare the necessary tools: a small screwdriver and a new computer power interface.
2. Find the location of the power interface socket: usually located on one side or back of the laptop, check to ensure there are no foreign objects or damage.
3. Use a small screwdriver to remove the screw on the power interface and remove the base cover, then remove the power interface from the socket.
4. Disconnect the battery cable from the motherboard
5.Remove all internal components to connect to the DC IN cable system board
6. Insert the new power interface into the computer jack to ensure proper connection.
7. Use a small screwdriver to tighten the screws on the power interface again, but be careful not to tighten them too tightly.
8. Insert the power cord and start the computer, check to ensure that the power interface is installed
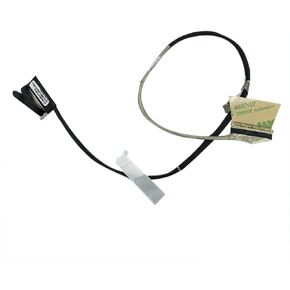 GinTai Laptop LCD Cable LED LVDS Video Screen Display Flex Cable Wire Replacement for ASUS G513 G713QM FHD 40PIN 166HZ/144HZ 6017b1551501
KWD 9
GinTai Laptop LCD Cable LED LVDS Video Screen Display Flex Cable Wire Replacement for ASUS G513 G713QM FHD 40PIN 166HZ/144HZ 6017b1551501
KWD 9
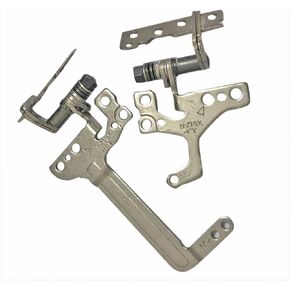 GinTai Laptops LCD Screen Shaft Hinges L & R Set for ASUS VIVOBOOK 15 X512 X512FA X512U X512DA X512UA X512UB X512D X512UF F512D F512DA S512/13NB0KA3M06111 13NB0KA3M07111(G) (NZ12166-1)
KWD 6
GinTai Laptops LCD Screen Shaft Hinges L & R Set for ASUS VIVOBOOK 15 X512 X512FA X512U X512DA X512UA X512UB X512D X512UF F512D F512DA S512/13NB0KA3M06111 13NB0KA3M07111(G) (NZ12166-1)
KWD 6
 Deal4GO 8-pin SATA Hard Drive Cable LS-H323P HDD Board L52024-001 Replacement for HP 15s-DY 15s-GR 15s-DU 15-CS 15-DW 15-GW 250 G8 255 G8 256 G8, Blue
KWD 6
Deal4GO 8-pin SATA Hard Drive Cable LS-H323P HDD Board L52024-001 Replacement for HP 15s-DY 15s-GR 15s-DU 15-CS 15-DW 15-GW 250 G8 255 G8 256 G8, Blue
KWD 6
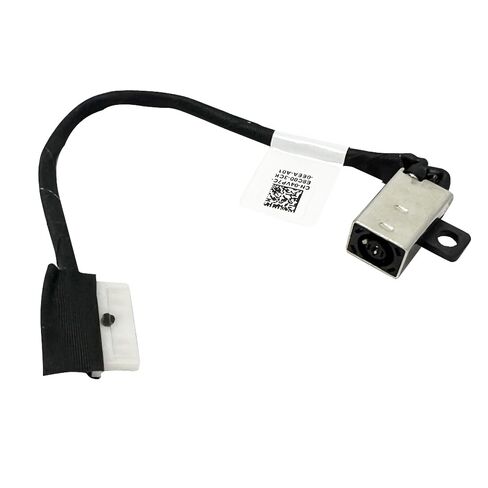
 Suyitai Replacement DC Power Jack Cable Charging Port Harness Connector Socket for Lenovo ThinkPad T15p Gen 1 Gen 2 Gen 3 P15v Gen 1 Gen 2 Gen 3 5C10Z23887
KWD 9
Suyitai Replacement DC Power Jack Cable Charging Port Harness Connector Socket for Lenovo ThinkPad T15p Gen 1 Gen 2 Gen 3 P15v Gen 1 Gen 2 Gen 3 5C10Z23887
KWD 9