- Shopping, made easy.
- /
- Get the app!
The meter has been calibrated at the time of shipment (if calibration is required), the calibration method is as follows
1, Long press [FUNC] key to enter the setup menu and enable the extended menu.
2、Rotate [SELECT] to call up the setup menu item No-060 [MTR ARX SEL].
3, Rotate [DIAL] to select FS.
4、Adjust the calibration adjustment hole at the rear with a small one screwdriver to make the meter head pointer point to full scale.
5、Calibration is complete!
If you can't find menu 60 and 61, it's the radio hiding these 2 menus. Long press the F key to open the menu settings, set the No. 1 menu to ON, press the F key to exit and save!
*Receive display setting
1、Long press [FUNC] key to enter the setting menu, enable the extended menu.
2、Rotate [SELECT] to call up the setting menu item No-060 [MTR ARX SEL].
3、Rotate [DIAL] to select the external meter display content:
-SIG:Display input signal strength
-CTR:Discriminator Center Meter
-VLT:Display battery voltage.
-N/A:blank
-FS: Calibrate the external meter by outputting a standard signal of 1mA full scale at the meter socket.
-OFF: Turn off the meter.
4.Long press [FUNC] key to save the setting and exit the setting menu.
*Transmit display setting*
1、Long press [FUNC] key to enter the setting menu and enable the extended menu.
2、Rotate [SELECT] to call up the setup menu item No-061 [MTR ATX SEL].
3、Rotate [DIAL] to select the external meter display content:
-PWR: Displays transmit power
-ALC: Display the automatic level control voltage.
-MOD: display modulation level
-SWR: Display VSWR.
-VLT: Display the power supply voltage.
-N/A:blank
-OFF:Turn off the meter.
 HT307A Automotive Probe Set,Oscilloscope Electrical Acupuncture pin-tip Probe Pins,Banana Plug recoverable Test Repair Tools,with 20 Replacement pins,for Circuit Boards
KWD 4.500
HT307A Automotive Probe Set,Oscilloscope Electrical Acupuncture pin-tip Probe Pins,Banana Plug recoverable Test Repair Tools,with 20 Replacement pins,for Circuit Boards
KWD 4.500
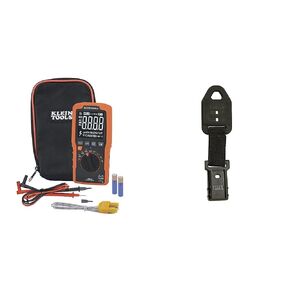 Klein Tools MM400 Multimeter, Digital Auto Ranging, AC/DC Voltage, Current, Capacitance & 69381 Alligator Clip Test Leads, Heavy-Duty Replacement Meter Leads
KWD 28
Klein Tools MM400 Multimeter, Digital Auto Ranging, AC/DC Voltage, Current, Capacitance & 69381 Alligator Clip Test Leads, Heavy-Duty Replacement Meter Leads
KWD 28
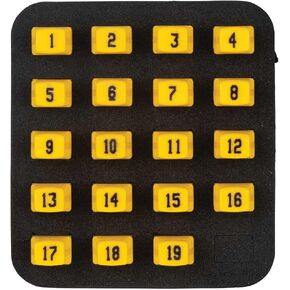 Klein Tools VDV526-055 LanMap Kit
KWD 17.500
Klein Tools VDV526-055 LanMap Kit
KWD 17.500
 -10%
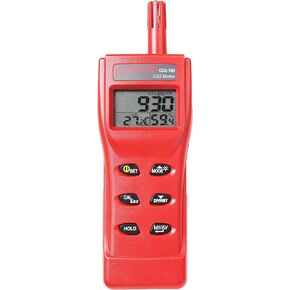
Amprobe CO2-100 Handheld Carbon Dioxide Meter
KWD 156.500
-10%
Amprobe CO2-100 Handheld Carbon Dioxide Meter
KWD 156.500


