- Shopping, made easy.
- /
- Get the app!
HOW TO USE?
1. Remove the air rod from the reverse valve of the tail light and determine which of the two threaded rods (thread 8-32 or Φ 32) to use
2. Manually screw the rod into the check valve, at least with your fingers. Capture as many lines as possible
3. Move the pipe downwards along the pipe
4. Ensure that the ears are fully inserted into the slot. Carefully rotate the tube until the ear falls into the gap of the reverse valve
5. Place the washer on the rod and tighten one of the 7/16 nuts (threaded 1/4-20) enough to eliminate the gap in the pipe and secure it in place. Caution: Do not tighten too much, as the brass threads on the reverse valve may clog
6. Use a distributor to install it on the flat surface of the pipe opening
7. Secure the fountain in a firm grip. If you have pliers, this is a great application. Turn the wrench counterclockwise. Do not load the wrench from the side. The one-way valve will release, and you can use the additional one-way valve to disassemble the entire component
8. Clean and loosen the ball bearings in the return valve. After release, screw the return valve back into the power supply or use a new replaceable valve
Be careful not to reinstall the valve too tightly! It is also recommended to apply a small amount of oil on the tool as it may rust in damp environments
Be careful not to turn it too tightly when reinstalling
 -13%
Coghlan's Emergency Candles, 2 Pack , White , 1 1/2' x 5'
KWD 3.500
 -42%
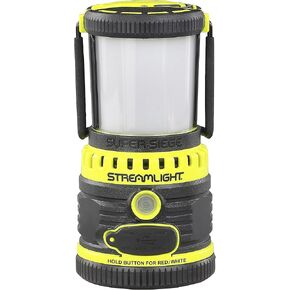
Streamlight 44956 Siege X USB Ultra-Compact, Multi-Fuel Hand Lantern/Flashlight Combo -Rechargeable USB Battery & USB Cord - Coyote - 325 Lumens
KWD 19.500
 QWEQWE 2 Pcs Multifunction Mini Camping Hook Hanger Hook Lantern Lamp Hanger Tent Pole Post Hook Hanging for Camping Fishing
KWD 3.500
 -7%
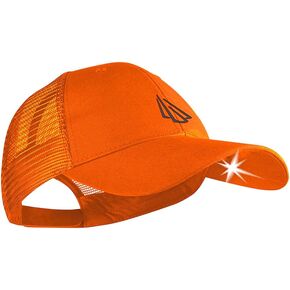
Panther Vision LED Hat Light - POWERCAP 3.0 USB Rechargeable Baseball Cap with Light Built in - LED Cap Visor Light with Ultra Bright Headlight and IPX4 Rating for Running and Camping - One Size
KWD 13