- Shopping, made easy.
- /
- Get the app!
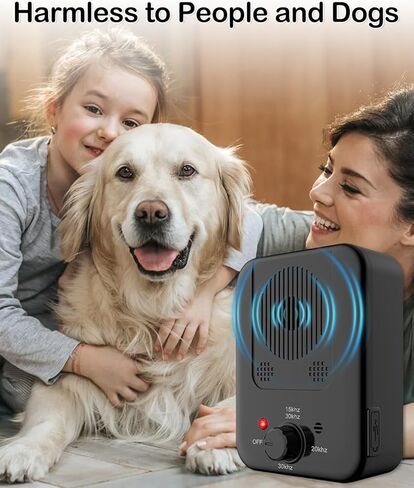
Scenarios for which the bark stopper is applicable
1. When your dog does not listen to the barking of the command at home and affects your rest, you can use the device to train your dog more scientifically and easily.
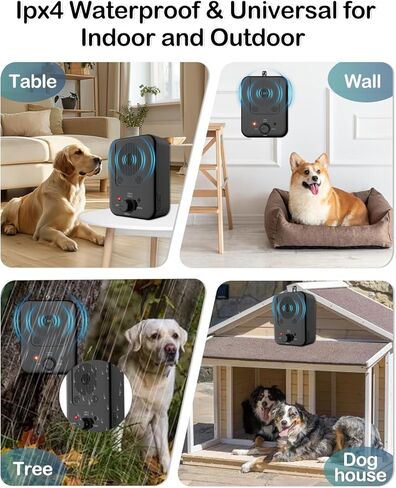
2. When you are always disturbed by the barking of the neighbor's dog, and many negotiations have not worked, and you are distressed about it, the barking stop comes in handy, you can hang it on the wall at the door.
3. When you are always disturbed by the barking sound of stray dogs at home or when you are out on a picnic, a barking stop can also help you get your dog to stop barking.
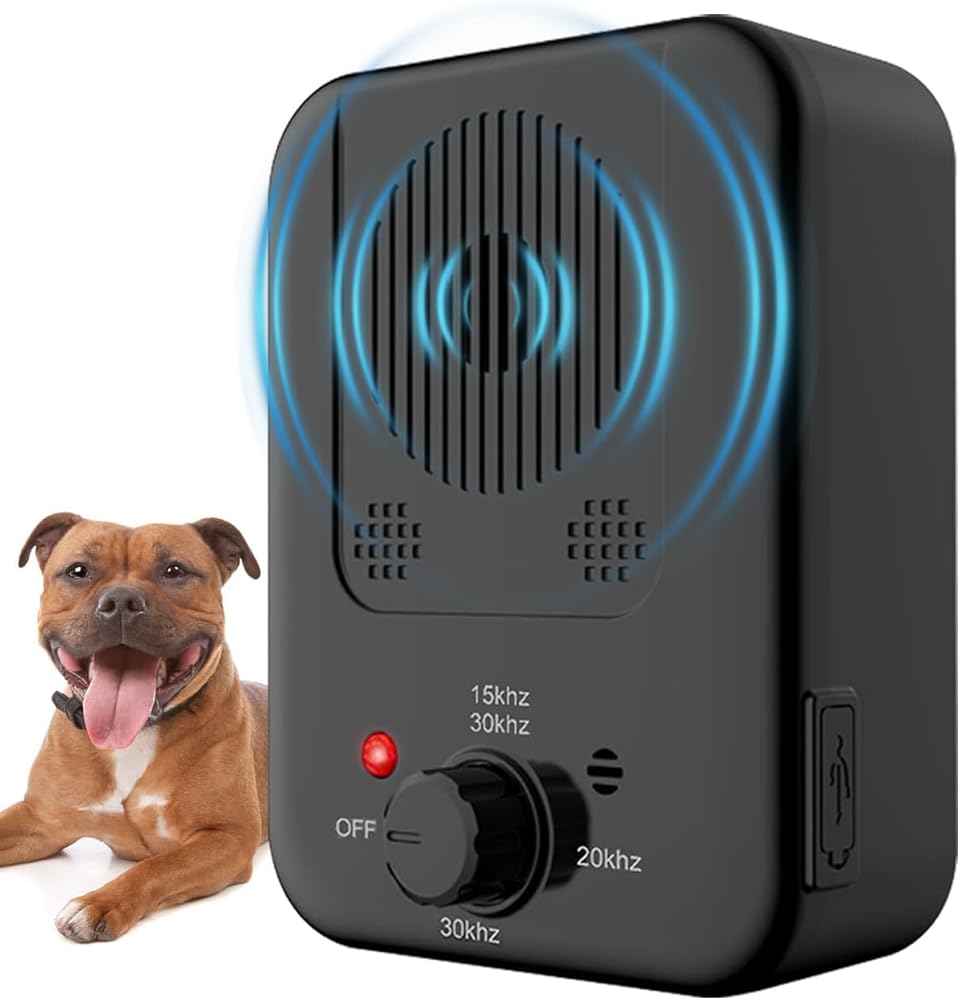
Features of the bark stopper
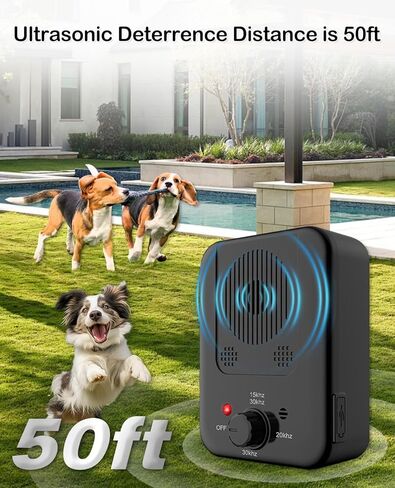
1. When the microphone of the barking stop receives the sound of the dog barking, it will emit ultrasound waves that the dog does not like, and the dog will stop barking when it hears the ultrasound of the corresponding frequency.
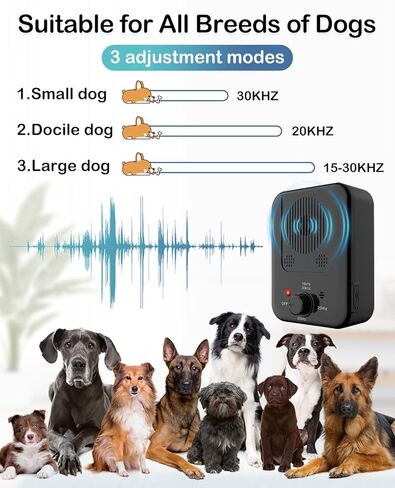
2. This device has 3 gears, corresponding to different frequencies, in order to prevent the dog from adapting to a certain frequency and making the anti-barking effect of the device worse, it is recommended to change the ultrasonic frequency every 7-10 days.
3. The ultrasonic wave emitted by the barking device can only be heard by dogs, not by humans, so it can prevent dogs from barking while not affecting people's rest.This device does not contain chemicals, does not emit pungent odors when working, and has no electric shock, no beeping sound, and is not harmful to humans and dogs.
Instructions for use of the product
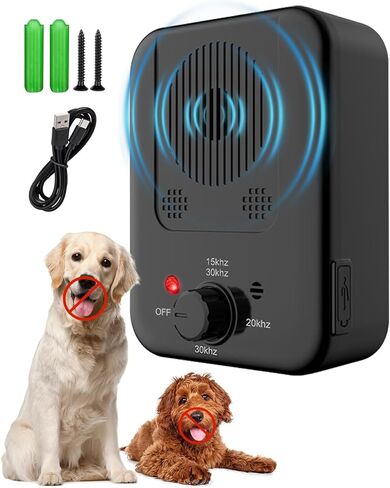
Charge before use, the red light indicates charging, and the blue light indicates that it is fully charged. After it is fully charged, turn it on, adjust the knob on the device to the corresponding gear, the blue light flashes to indicate that it is turned on, standby: the blue light flashes every 6 seconds. Triggered by a dog barking and starts working: the red light is held for 3 seconds. When the battery is low, the red light starts flashing, which means the device needs to be charged, otherwise it will stop working.
Package includes
1. Anti-barking device
2. USB charging cable
3. Install the screws and expansion bolts
4. Instruction manual
 Butcher Shop Chicken and Rawhide Rolls Dog Treats (2 Pack - 20 Rolls)
KWD 13
Butcher Shop Chicken and Rawhide Rolls Dog Treats (2 Pack - 20 Rolls)
KWD 13
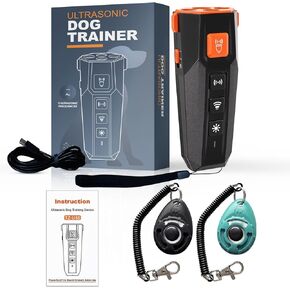 Dog Bark Deterrent & Clicker – Stop Bad Behavior Instantly | No Yelling, Just Point and Press! | Long-Range Ultrasonic, Humane Shock Collar Alternative with Wrist Strap Clicker for Easy Training
KWD 16.500
Dog Bark Deterrent & Clicker – Stop Bad Behavior Instantly | No Yelling, Just Point and Press! | Long-Range Ultrasonic, Humane Shock Collar Alternative with Wrist Strap Clicker for Easy Training
KWD 16.500
 Orijen Angus Beef Freeze-Dried Dog Treats, 3.25 Ounces / 3 Pack
KWD 19.500
Orijen Angus Beef Freeze-Dried Dog Treats, 3.25 Ounces / 3 Pack
KWD 19.500
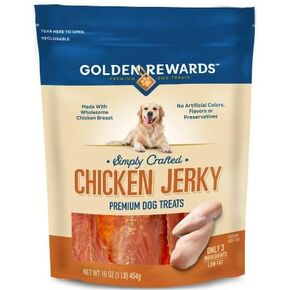 Golden Rewards Chicken Flavor Premium Dry Jerky Treats for All Dogs, 16 oz
KWD 11
Golden Rewards Chicken Flavor Premium Dry Jerky Treats for All Dogs, 16 oz
KWD 11