- Shopping, made easy.
- /
- Get the app!
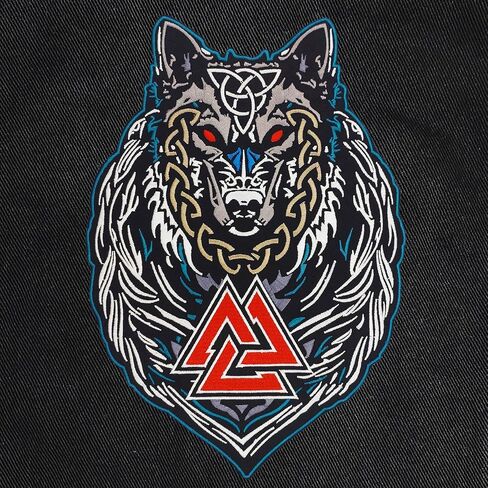
"Unleash the spirit of the Viking warrior with our Viking Wolf with Odin Valknut Symbol Embroidered Biker Back Patch. Crafted with meticulous attention to detail, this patch features a striking design of a fierce wolf intertwined with the sacred Odin Valknut symbol, symbolizing protection and strength. Whether you're a dedicated biker or a lover of Norse mythology, this patch is sure to make a bold statement on your motorcycle jacket or vest. Made with high-quality materials, it's built to withstand the rigors of the open road. Add a touch of Viking mythology to your riding gear and embrace the fearless spirit of the ancient warriors. Upgrade your motorcycle attire with our Viking Wolf patch today!" Transform your favorite garments with our versatile iron-on patch. Perfect for enhancing shirts, jeans, and beyond, this patch enables seamless customization. Note: Avoid ironing onto delicate fabrics like leather, rainwear (waterproof), highly elastic, rayon, nylon, or triacetate, as heat may cause damage. For a secure attachment on any material, utilize the stitching method without removing the plastic heat-sealed backing. Patch iron-on instructions. 1. Preheat your iron to the highest setting without steam. 2. Position the patch and cover it with a pressing cloth. 3. Apply firm pressure with the iron for 35-45 seconds. 4. Turn the garment inside-out and repeat steps 2 and 3. 5. Allow the patch to cool before testing its bond. Note: Sewing by hand will give you greater control and is easier than using a sewing machine when sewing into leather. Sewing on a patch will leave permanent holes, so be careful about placement before starting. Patch Sewing Instructions 1. Identify the desired patch location and outline the area with tailor's chalk. 2. Using a sewing pick, open the bottom seam of the garment lining just enough to fit your hand inside. 3. Position your inside hand flat between the lining and outlined area. 4. With your outside hand, position the patch. You can lightly spray leather adhesive to temporarily hold the patch, but this is not permanent. 5. Thread an upholstery needle with strong nylon thread matching the patch color. Use a thimble to push the needle from inside the item to the outside through the leather. 6. This will leave the knot on the inside. Pull the needle through with your outside hand and back down through the patch and leather. 7. Continue this pattern around the patch, keeping stitches close together and to the edge for secure attachment. 8. Once back at the starting point, send the needle through the first stitch, and loop it around a few times to make a finishing knot. Once applied, the patch is permanently bonded and can be machine washed, dried, and dry cleaned, remember to turn the garment inside-out to preserve the patch's integrity. Elevate your style effortlessly with our reliable iron-on patch solution today!
 Pssopp Sewing Thimble Finger Protector 2Pcs Sewing Thimble Silicone Fingers Thumb Sewing Tools for DIY Sewing Tools Thimbles
KWD 4
Pssopp Sewing Thimble Finger Protector 2Pcs Sewing Thimble Silicone Fingers Thumb Sewing Tools for DIY Sewing Tools Thimbles
KWD 4
 DREAMSTITCH 2 Pcs 130920021 Spool Pin Extra Twin Needle Spool Pin for Brother,Babylock,Bernette,Riccar,Simplicity,Singer Sewing Machine ALT:130920051, 130920001-130920001
KWD 4
DREAMSTITCH 2 Pcs 130920021 Spool Pin Extra Twin Needle Spool Pin for Brother,Babylock,Bernette,Riccar,Simplicity,Singer Sewing Machine ALT:130920051, 130920001-130920001
KWD 4
 Adjustable Hinged Low Shank Zipper/Cording Foot #55510 for Sewing Machine
KWD 3.500
Adjustable Hinged Low Shank Zipper/Cording Foot #55510 for Sewing Machine
KWD 3.500
 Coats & Clark Dual Duty All-Purpose Thread 400 Yds: Black (ONE spool of yarn) (2)
KWD 5
Coats & Clark Dual Duty All-Purpose Thread 400 Yds: Black (ONE spool of yarn) (2)
KWD 5