- Shopping, made easy.
- /
- Get the app!
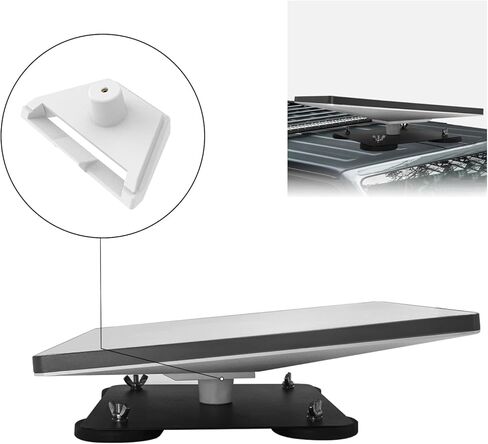
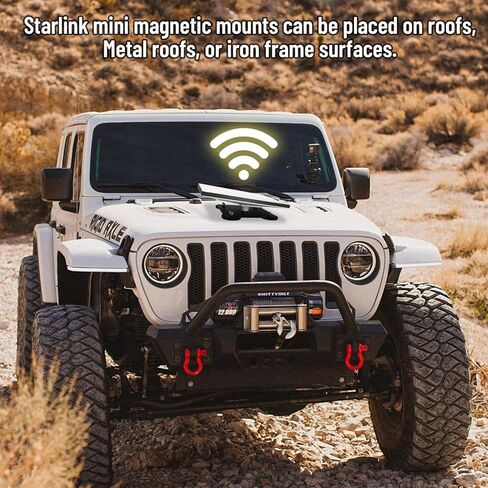
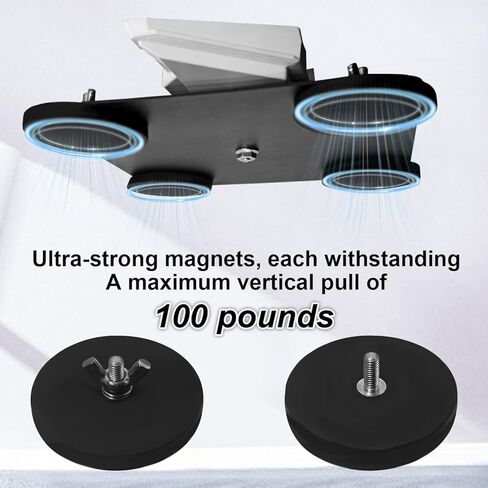
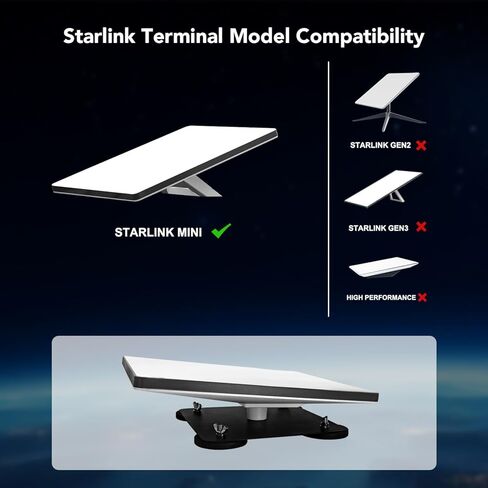
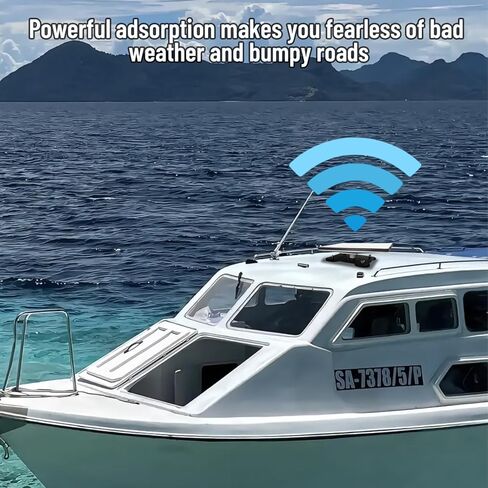
Introducing the Starlink mini mount, a compact and versatile mounting solution for your Starlink satellite dish. This innovative mount allows you to securely install your Starlink terminal on various surfaces, ensuring optimal signal reception and internet connectivity. Crafted with durable materials, the Starlink mini mount is designed to withstand harsh weather conditions and provide a stable base for your Starlink system. With its adjustable design, you can easily fine-tune the positioning of your satellite dish for maximum performance. Whether you're setting up your Starlink in a remote location or simply looking for a reliable mounting option, the Starlink mini mount offers a convenient and efficient solution. Enhance your Starlink experience with this essential accessory. Installation instructions Step 1: Install the two stands on the MINI device, Please note the difference between A at the top and B at the bottom Step 2: Please clean the glass before installation Step 3: Fix the product on the glass Step 4: Empty the air between the suction cup and the glass before pressing the button

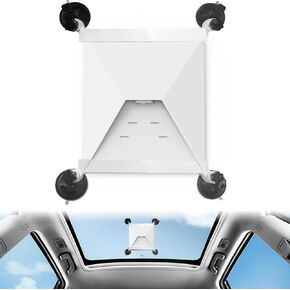 Suction Cup Mount for Starlink Mini White Car Mount Suction Cup Bracket for Starlink Mini Antenna for Inside Vehicle Use
KWD 0
Suction Cup Mount for Starlink Mini White Car Mount Suction Cup Bracket for Starlink Mini Antenna for Inside Vehicle Use
KWD 0
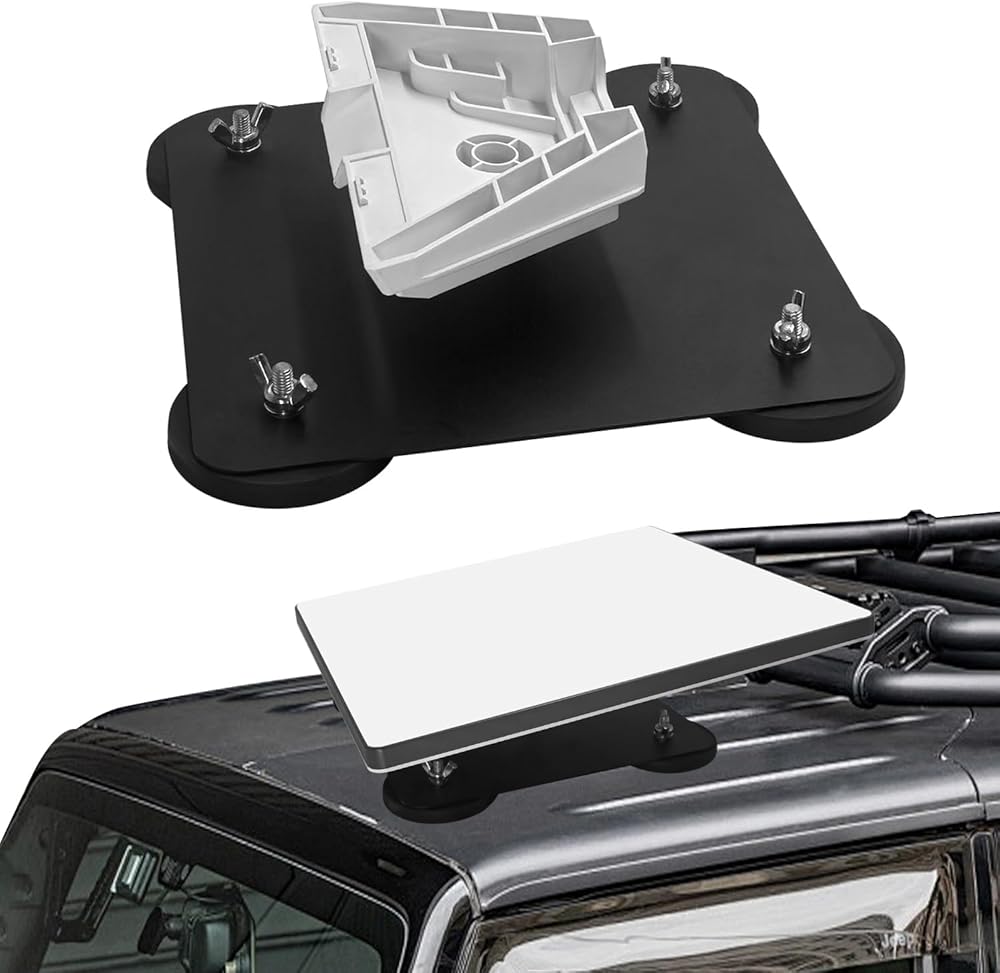
 Starlink Mounting Kit Gray with Adjustable Bend Pipe Mounting Kit with Starlink Pipe Adapter Starlink Wall Mount Starlink Pole Mount for Starlink Devices Compatible with Gen3 Starlink
KWD 12.500
Starlink Mounting Kit Gray with Adjustable Bend Pipe Mounting Kit with Starlink Pipe Adapter Starlink Wall Mount Starlink Pole Mount for Starlink Devices Compatible with Gen3 Starlink
KWD 12.500
 Suction Cup Mount for Starlink Mini Inside Vehicle Use with Starlink Mini DC Power Cable (16.4FT/5M),Car Power Cable for Starlink Mini Replacement Extension Accessories Equipped Replacement Cable
KWD 35.500
Suction Cup Mount for Starlink Mini Inside Vehicle Use with Starlink Mini DC Power Cable (16.4FT/5M),Car Power Cable for Starlink Mini Replacement Extension Accessories Equipped Replacement Cable
KWD 35.500
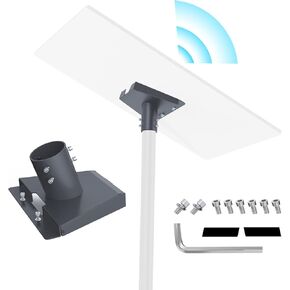
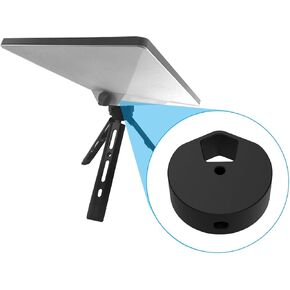 Starlink Mini Mount Aluminum Adapter with 1/4-20 to 3/8-16 Conversion Screw for Starlink Mini Tripod Mount
KWD 7
Starlink Mini Mount Aluminum Adapter with 1/4-20 to 3/8-16 Conversion Screw for Starlink Mini Tripod Mount
KWD 7