- Shopping, made easy.
- /
- Get the app!
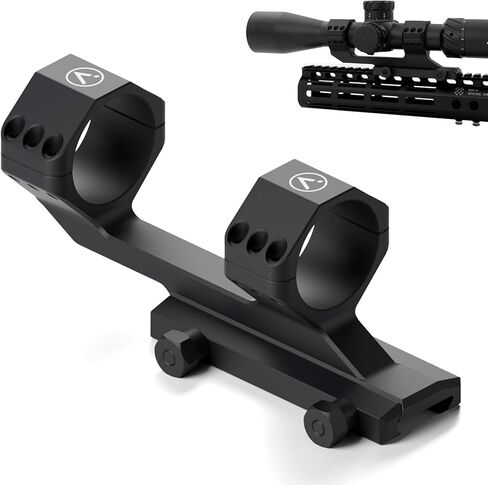
TP18 Cantilever Mounts Instructions
Thank you for purchasing AlMPACT cantilever mounts.
Our One-Piece scope mounts are manufactured to the highest tolerances.The mounts are precision made on 5-axis CNC machines and minimize the number of operations required to complete the machining process. We have been able to cut the number of operations required from eight to two. By doing this, there is no accuracy loss due to re-setting for different operations.
Our mounts have undergone 168 hours of salt spray testing and good rust prevention treatment, and do not require additional lubricant application.
1. Mounts with a cantilever design should be placed with the cantilever portion towards the muzzle . Place the mount onto the Picatinny rail, pre-tightening the 2 base screws to 10 in-lb, and finally tightening to 30 in-lb.
2. Place the riflescope into your normal shooting position. Check eye relief and ensure the vertical crosshair is aligned with the rifle's vertical axis, scope leveling system use is advised.
3. Carefully tighten the 12 screws of the 2 top cap, from center to center, then at opposing corners, to the recommended pre-tightening torque setting of 8 in-lb.
4. Finally evenly tighten the 12 screws of the 2 top caps to 18 in-lb, using care to maintain an even gap between the ring gap. Caution: no more than 30 in-lb of torque should be applied to ring screws.


 Pro Heavy Duty Wooden Axe Target
KWD 48.500
Pro Heavy Duty Wooden Axe Target
KWD 48.500
 -9%
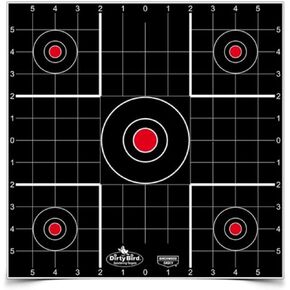
Birchwood Casey Dirty Bird 12" Sight-in White Splattering Targets Practice Shooting for Indoor and Outdoor Use
KWD 25.500
-9%
Birchwood Casey Dirty Bird 12" Sight-in White Splattering Targets Practice Shooting for Indoor and Outdoor Use
KWD 25.500
 OWB Paddle Holster for Ruger LCP(Not LCP II, LCP Max or Laser Models), Kel-Tec P3AT 380 Sub-Compact, 360° Adjustable Outside Waistband Holsters, Fast Release Tactical Gun Holster - Right Handed
KWD 9.500
OWB Paddle Holster for Ruger LCP(Not LCP II, LCP Max or Laser Models), Kel-Tec P3AT 380 Sub-Compact, 360° Adjustable Outside Waistband Holsters, Fast Release Tactical Gun Holster - Right Handed
KWD 9.500
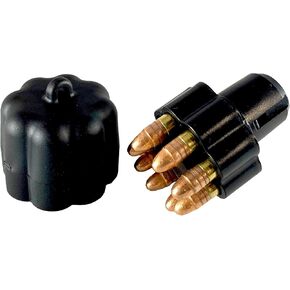 Ammo Pod (Speed Loader) .22LR Caliber, 8-Shot, for Ruger LCR
KWD 6.500
Ammo Pod (Speed Loader) .22LR Caliber, 8-Shot, for Ruger LCR
KWD 6.500