- Shopping, made easy.
- /
- Get the app!
3-Way Solenoid Valve Setup Instructions
Port Functionality and Operation:
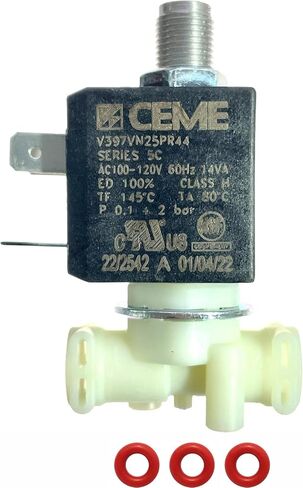
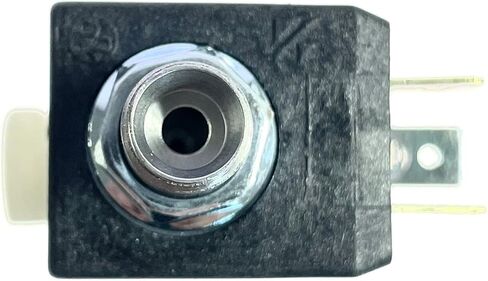
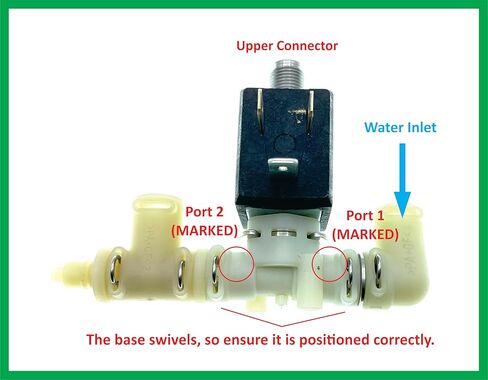
Port 1 (Water Inlet - Common Port):
This is the water inlet port in both the energized and de-energized states.
Water always enters through Port 1, which is clearly marked on the plastic connector.
Upper Connector (Normally Open - Water Path when Solenoid is Off):
When the solenoid is not energized (off), water flows from Port 1 to the Upper Connector.
This is the default state, where water exits through the upper connector.
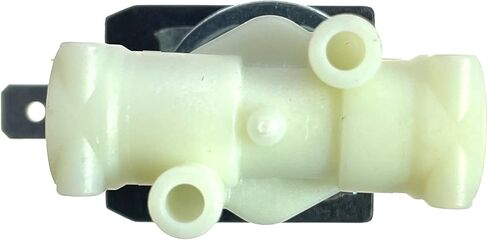
Port 2 (Normally Closed - Water Path when Solenoid is On):
When the solenoid is energized (on), water is redirected from Port 1 to Port 2.
The Upper Connector is closed, preventing any water flow through it in this state.
Port 2 is also marked on the plastic connector for easy identification.
Correct Operating Mechanism:
1. When the solenoid is off (de-energized):
Water flows from Port 1 to the Upper Connector.
The connection between Port 1 and Port 2 is closed.
2. When the solenoid is on (energized):
Water is redirected from Port 1 to Port 2.
The Upper Connector is closed, stopping water flow through it.
Important Notes for Proper Installation:
1. Port Markings:
Port 1 and Port 2 are clearly marked on the plastic connector, making it easier to correctly identify the inlet and outlet connections.
Be sure to connect the system properly based on these markings to ensure correct operation.
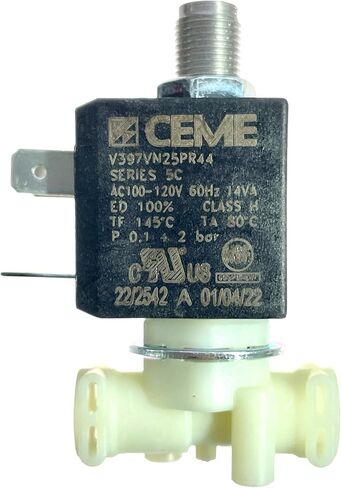
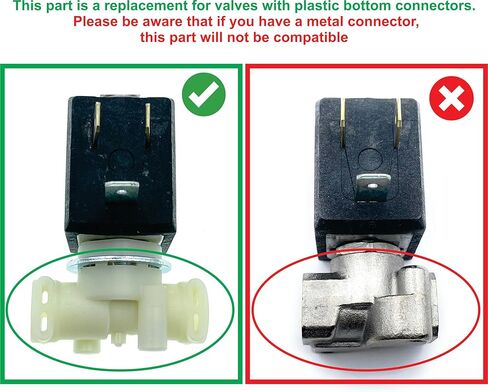
2. Bottom Plastic Connector Swivels:
The bottom plastic connector swivels and must be correctly adjusted according to your system setup.
Incorrect positioning may prevent the valve from functioning properly.
Ensure the alignment of the swiveling bottom connector is correct before installation.
If the order of connections is mixed up, the solenoid valve will not work as intended.
3. O-Ring Installation:
Place the O-rings (included in the package) on the connectors that will be inserted into the ports.
These O-rings are essential for creating a proper seal between the connectors and the ports to prevent any leaks.
Ensure that each O-ring is properly seated on the connector before inserting it into Port 1, Port 2, and the Upper Connector to secure a leak-proof fit.
Flow Summary:
Solenoid Off: Water flows from Port 1 (inlet, marked on the connector) to the Upper Connector.
Solenoid On: Water flows from Port 1 (inlet) to Port 2 (outlet, marked on the connector), and the Upper Connector is closed.
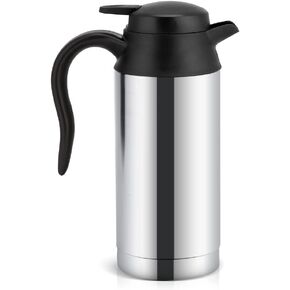 Gorgeri Portable Car Electric Kettle Travel Kettle 12V 750ml Car Hot Water Kettle Heating Cup Electric Kettle Boil Water Tea Coffee with Cigarette Lighter
KWD 14
Gorgeri Portable Car Electric Kettle Travel Kettle 12V 750ml Car Hot Water Kettle Heating Cup Electric Kettle Boil Water Tea Coffee with Cigarette Lighter
KWD 14
 Classic Kitchen 5.0 Qt Nickel Pearl Kettle
KWD 39
Classic Kitchen 5.0 Qt Nickel Pearl Kettle
KWD 39
 AROMA® Professional 1.7L / 7-Cup Electric Stainless Steel Kettle (AWK-1810SD)
KWD 23
AROMA® Professional 1.7L / 7-Cup Electric Stainless Steel Kettle (AWK-1810SD)
KWD 23
 -9%
SWEETFULL Mug Warmer for Coffee and Tea Coffee Mug Warmer W/Mug and Lid Coffee Warmer As Coffee Gifts for Desk Office Coffee Lovers. (20W Cup Warmer Candle Warmer Auto Shut Off) (Wood Grain)
KWD 15
-9%
SWEETFULL Mug Warmer for Coffee and Tea Coffee Mug Warmer W/Mug and Lid Coffee Warmer As Coffee Gifts for Desk Office Coffee Lovers. (20W Cup Warmer Candle Warmer Auto Shut Off) (Wood Grain)
KWD 15